Airflow
As noted under Insulation airflow and insulation together determine how quickly heat is lost from a house, and therefore how big a heating system is required to keep it warm on the coldest winter days.
Airflow is a two-part problem:
The need to expel stale air (from bathrooms, kitchen, laundry, etc.) and replace it with an adequate supply fresh air from outside.
Having done that, the need to prevent any uncontrolled air leakage to or from the house.
Replacing Stale with Fresh Air
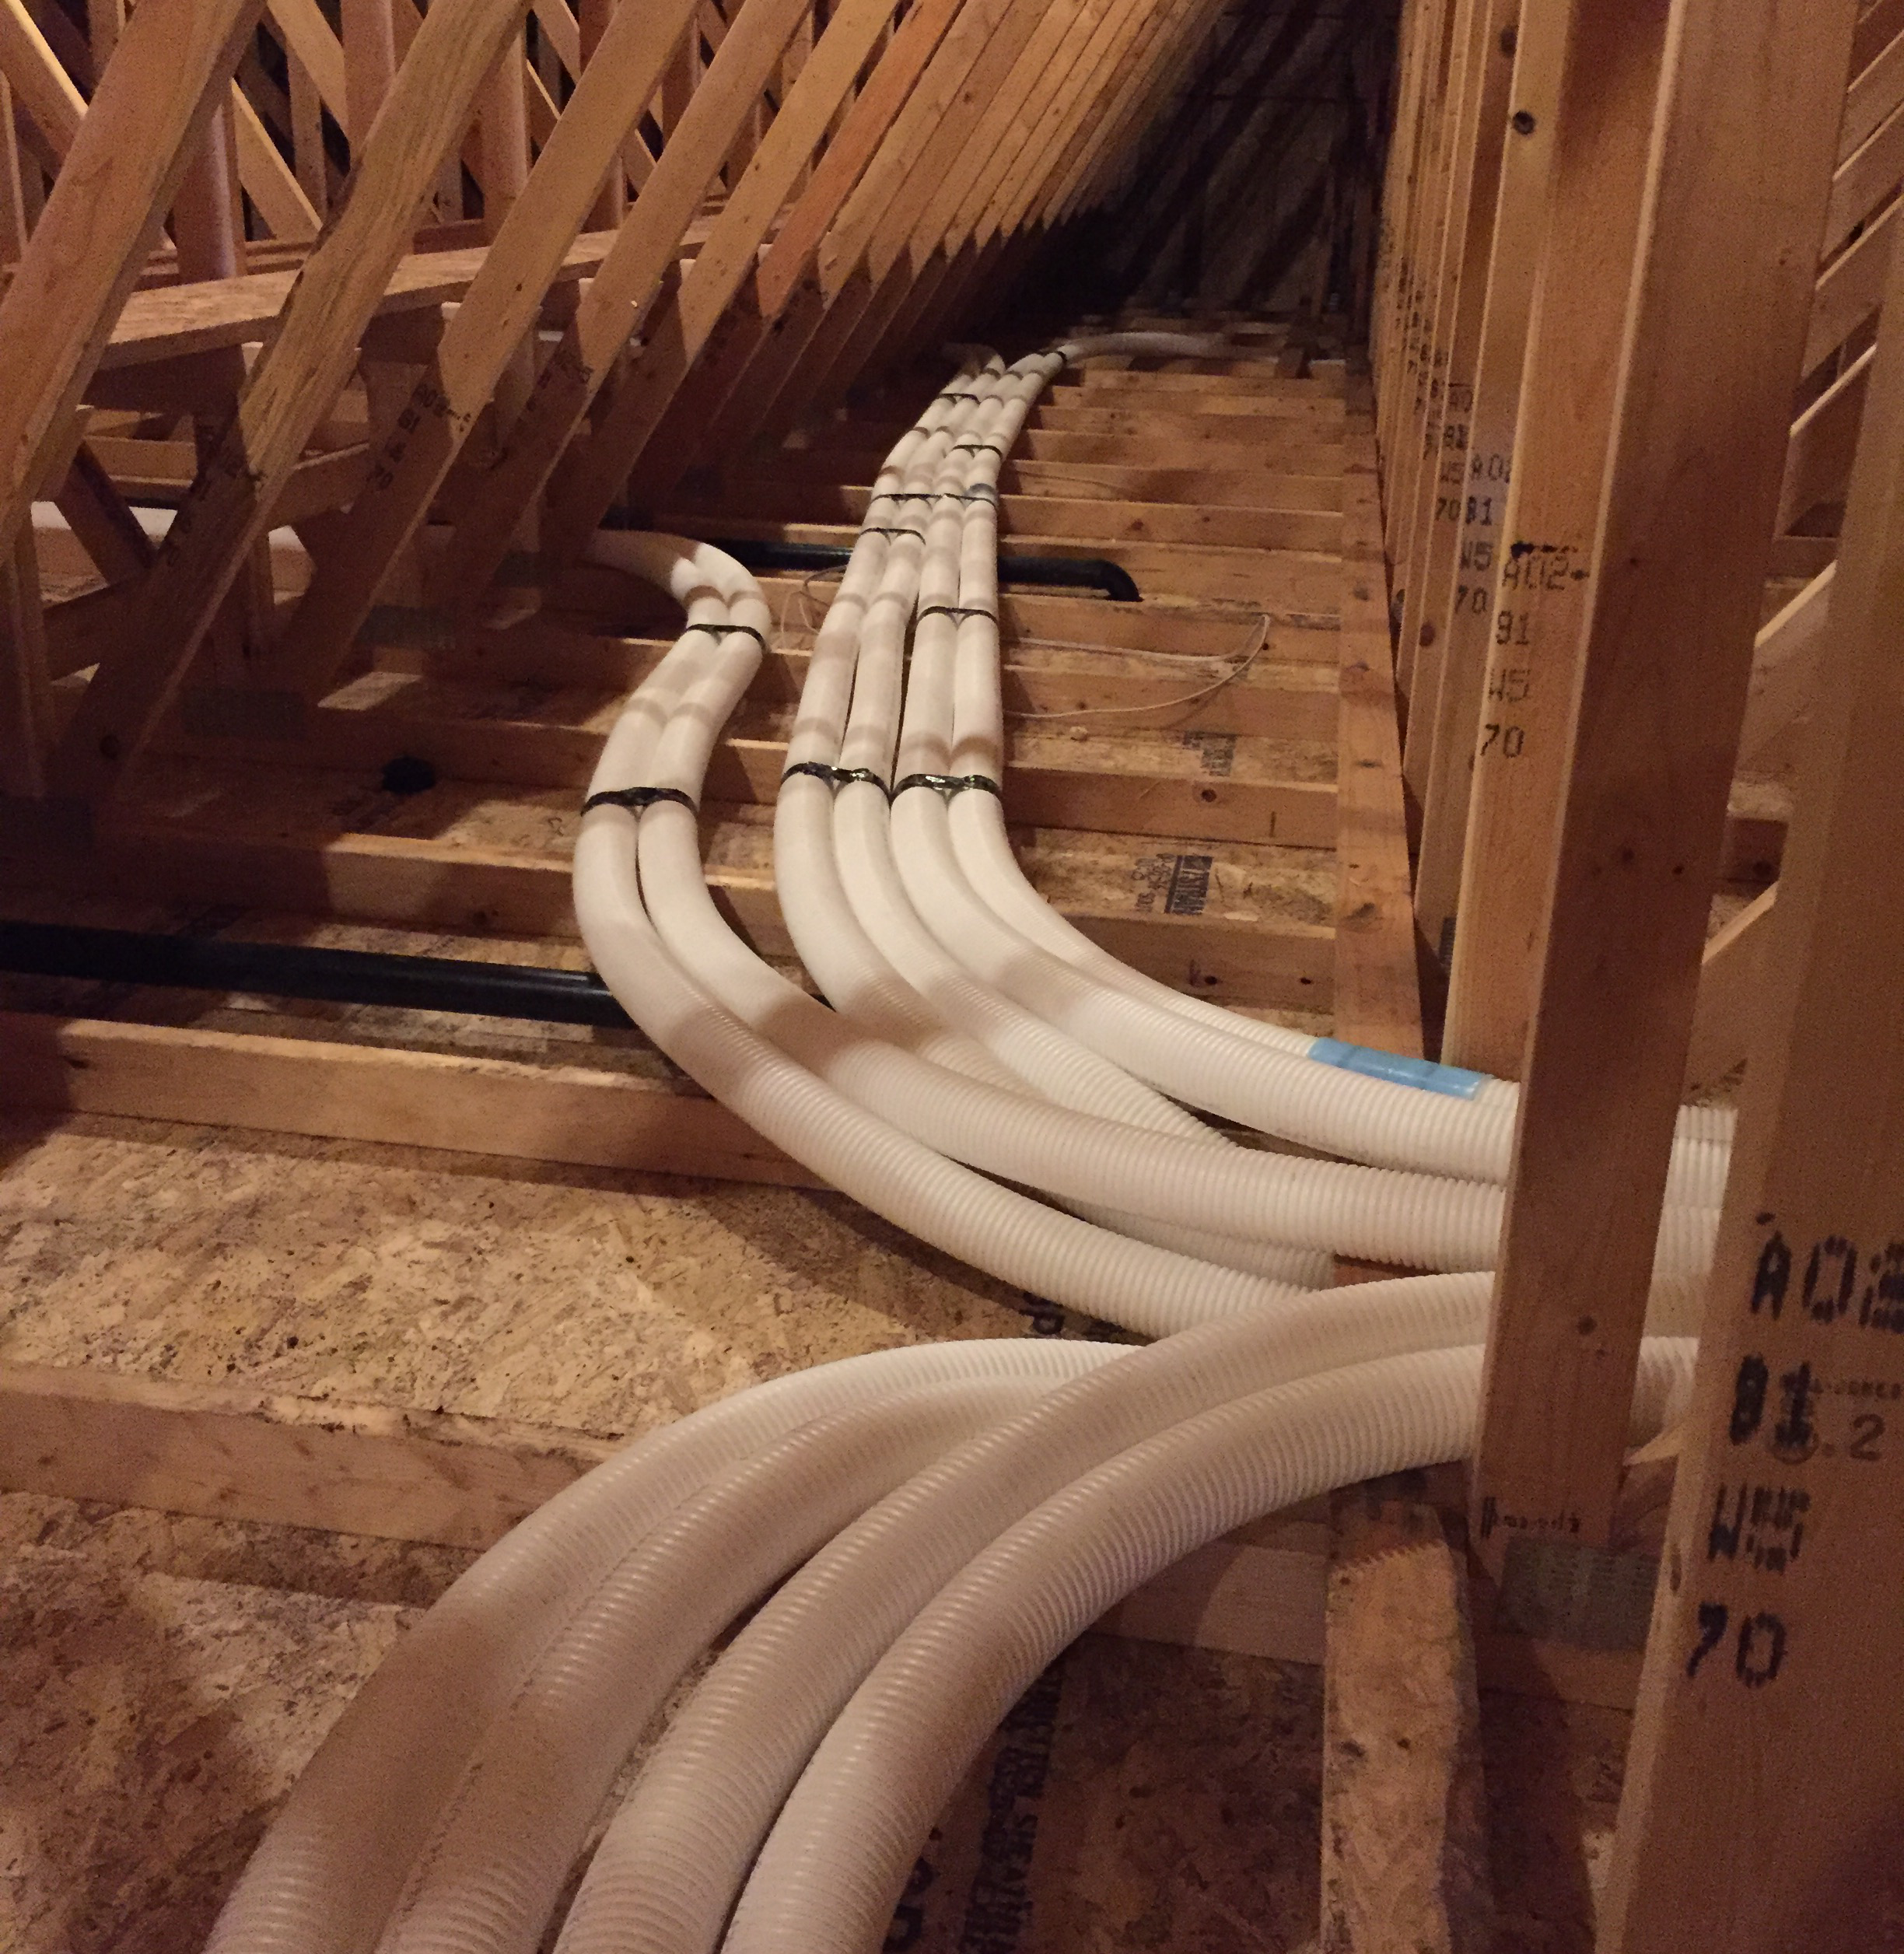
We solved the stale/fresh air issue by installing a whole-house heat-recovery ventilation system (HRV). Rather than having individual exhaust fans in several rooms, the white ducts pictured here carry stale air to a central exhaust fan that blows it outside.
Then the same quantity of fresh air is brought in from outside and a fan distributes it to the great room and each of the bedrooms, from where it diffuses throughout the house.
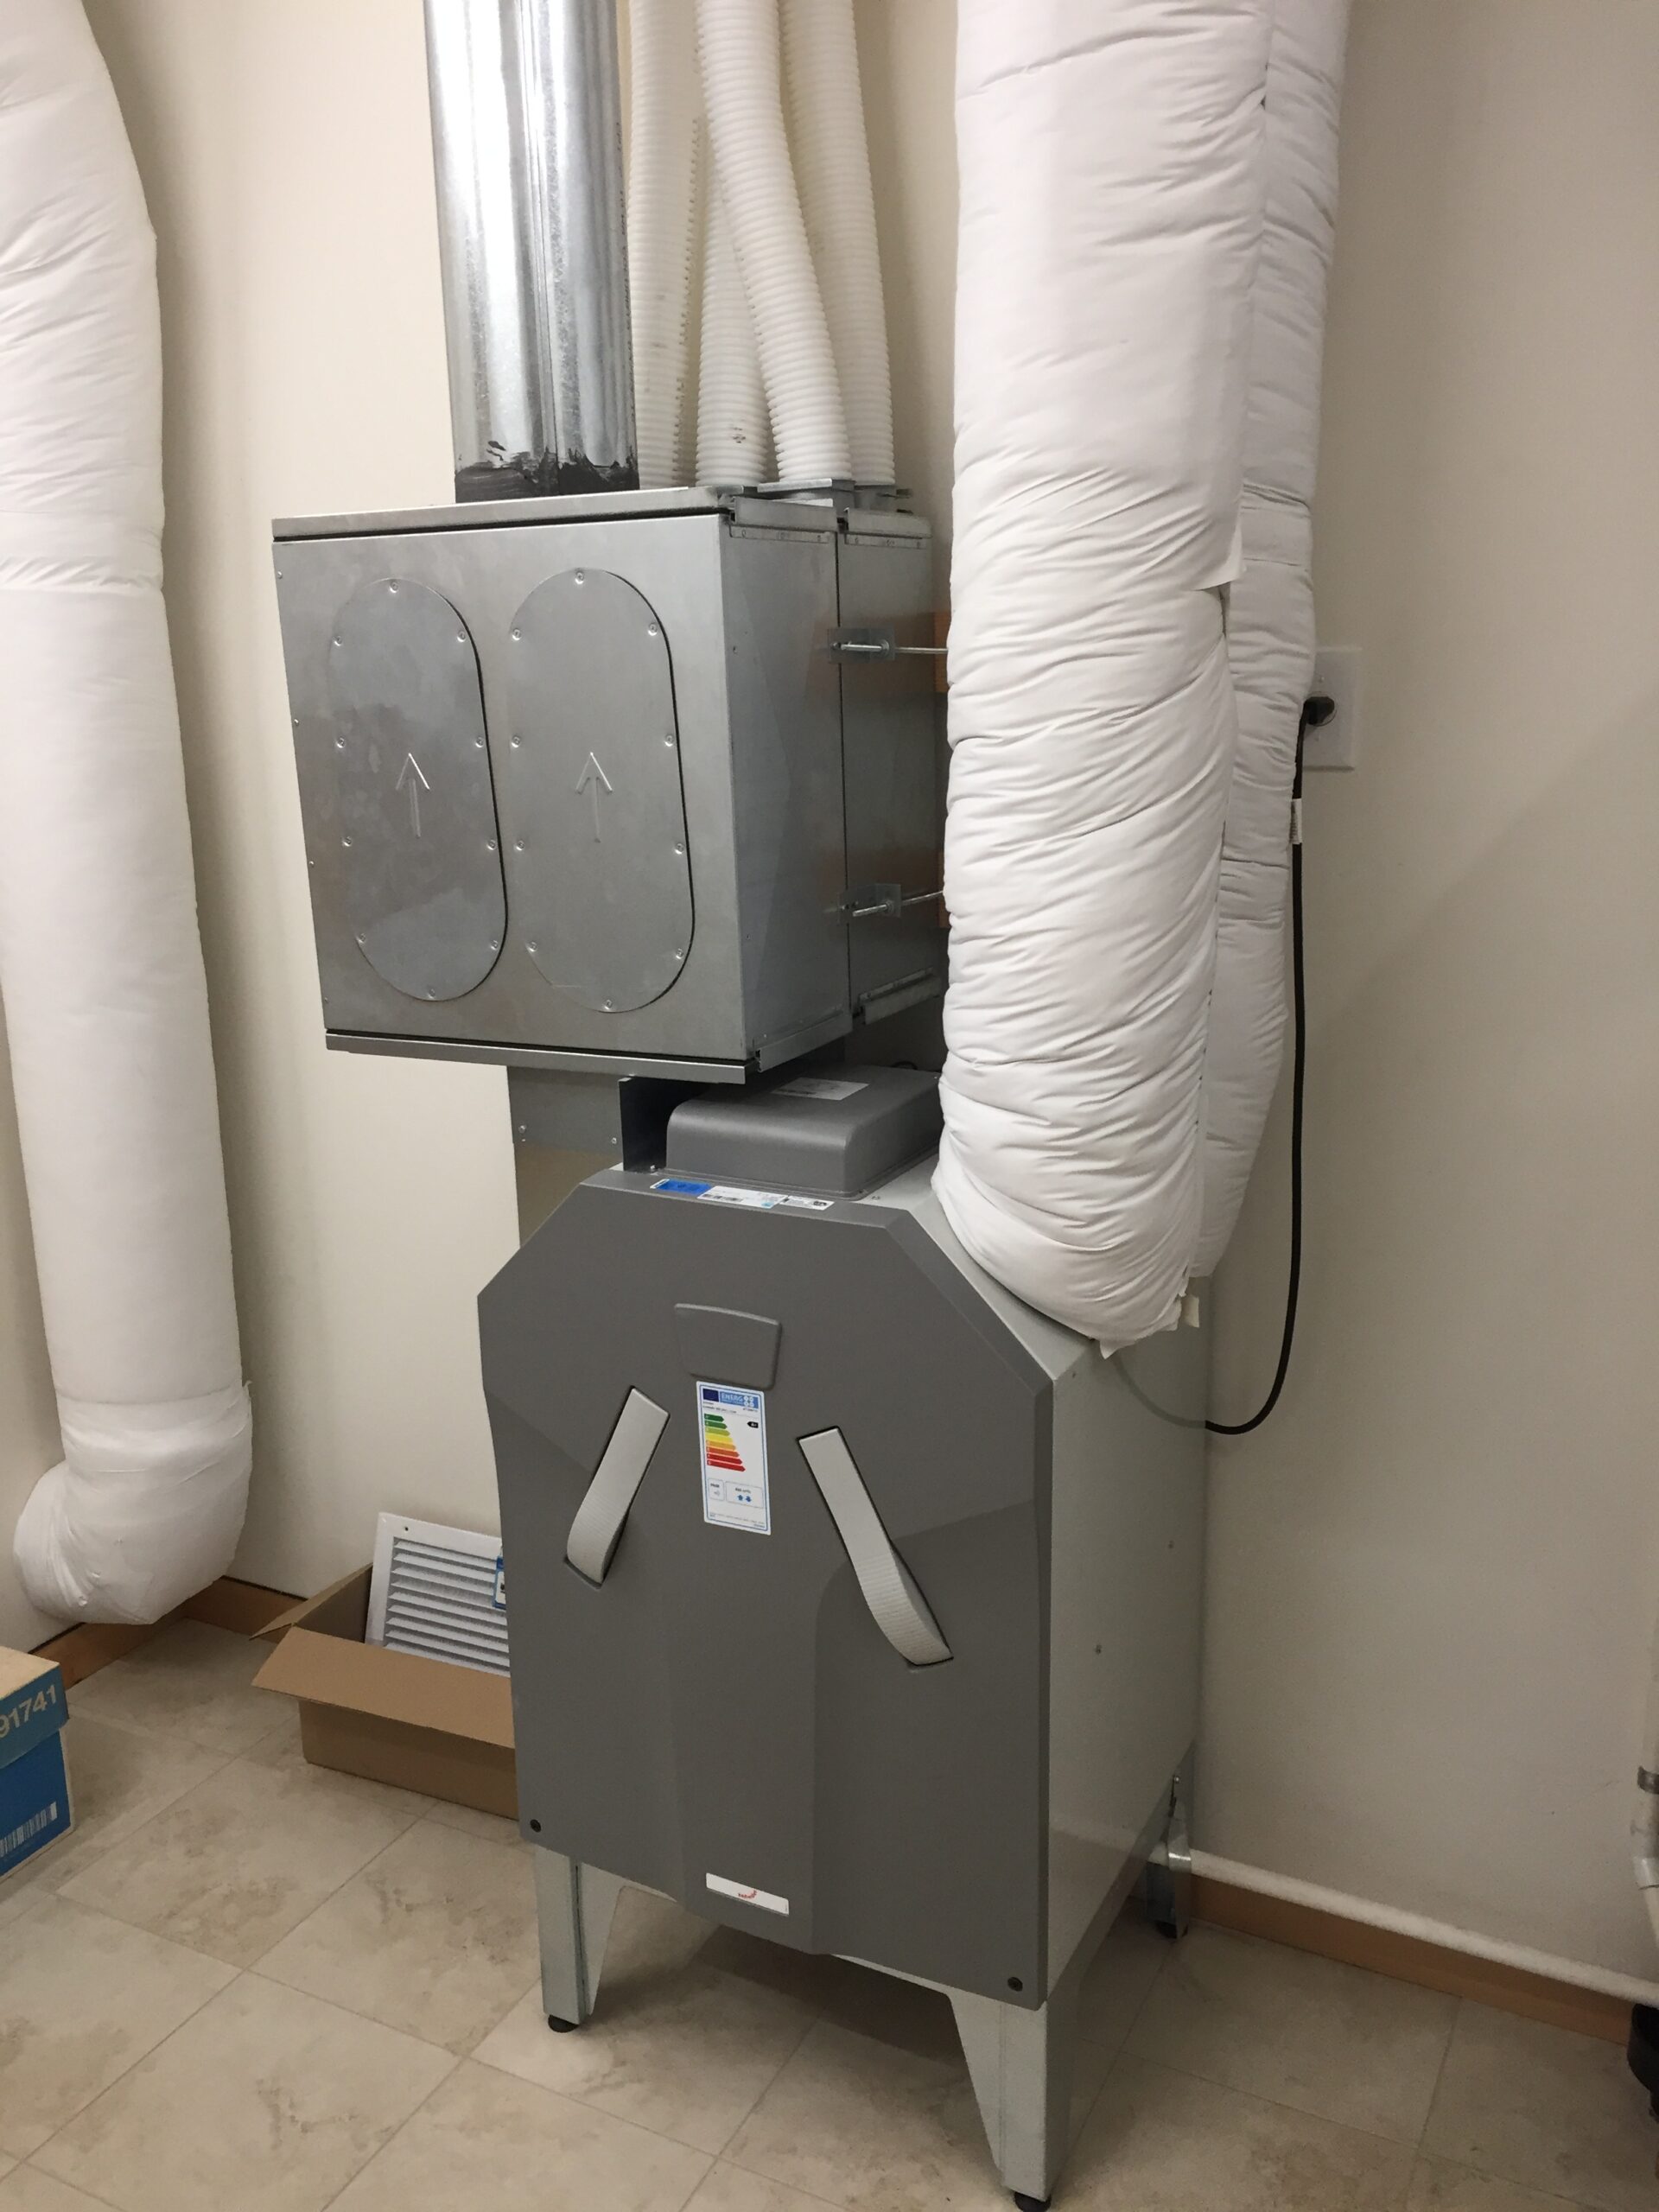 The “magic” of the HRV is that the heat from the outgoing stale air is used to pre-heat the incoming fresh air to nearly room temperature, thereby significantly reducing the load on the heating system.
The HRV runs 24 hours per day, is nearly silent, and draws only about 40 watts most of the time. If a boost is needed (say we’re deep frying chicken), the airflow can be temporarily increased by the push of a button. Boost controllers are provided in the kitchen and all three bathrooms. Even in Boost mode, the HRV draws only 90 watts.
Put into perspective, if we didn’t have a solar system, the cost to operate the HRV would have averaged only about $2.00 per month, based on measured energy consumption.
minimizing uncontrolled leaks
Any additional air that leaks into the house has to be heated from outside temperature to room temperature and also creates cold drafts. Therefore, we carefully planned to eliminate as many leaks as reasonably possible.
The good news is that there are no major costs here. The key to success is careful initial planning and good workmanship in the field.
Here’s how we created an air seal around the house . . .
floor
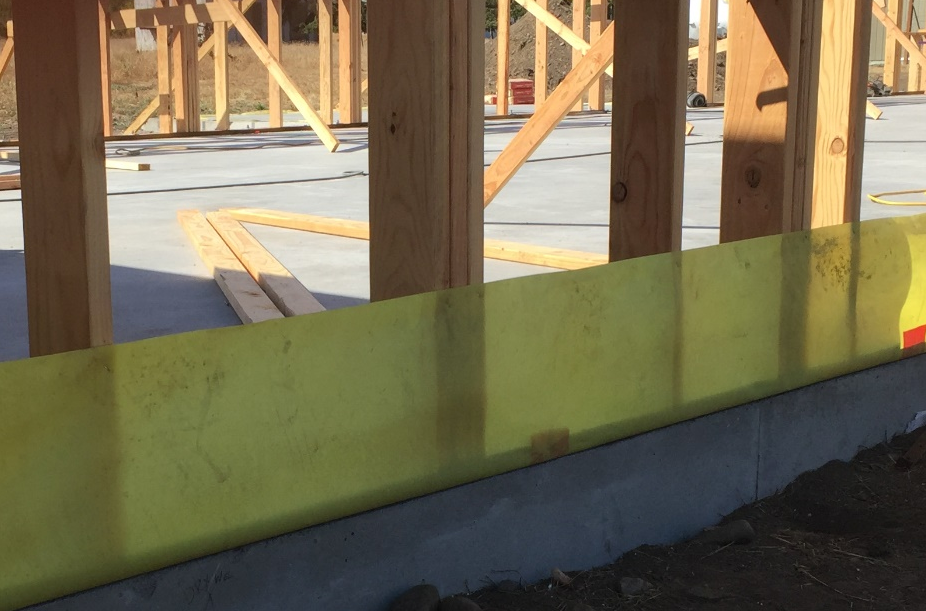 Standard construction for a slab floor requires putting a plastic sheet under the concrete to minimize water migration upwards through the floor. We modified that slightly to extend the plastic sheet (yellow in this picture) beyond the slab, up and over the foundation, and stapled it to the outside of the supporting wall framing.
All joints are carefully taped, and the sheet is sealed to the foundation and outer wall framing.
walls
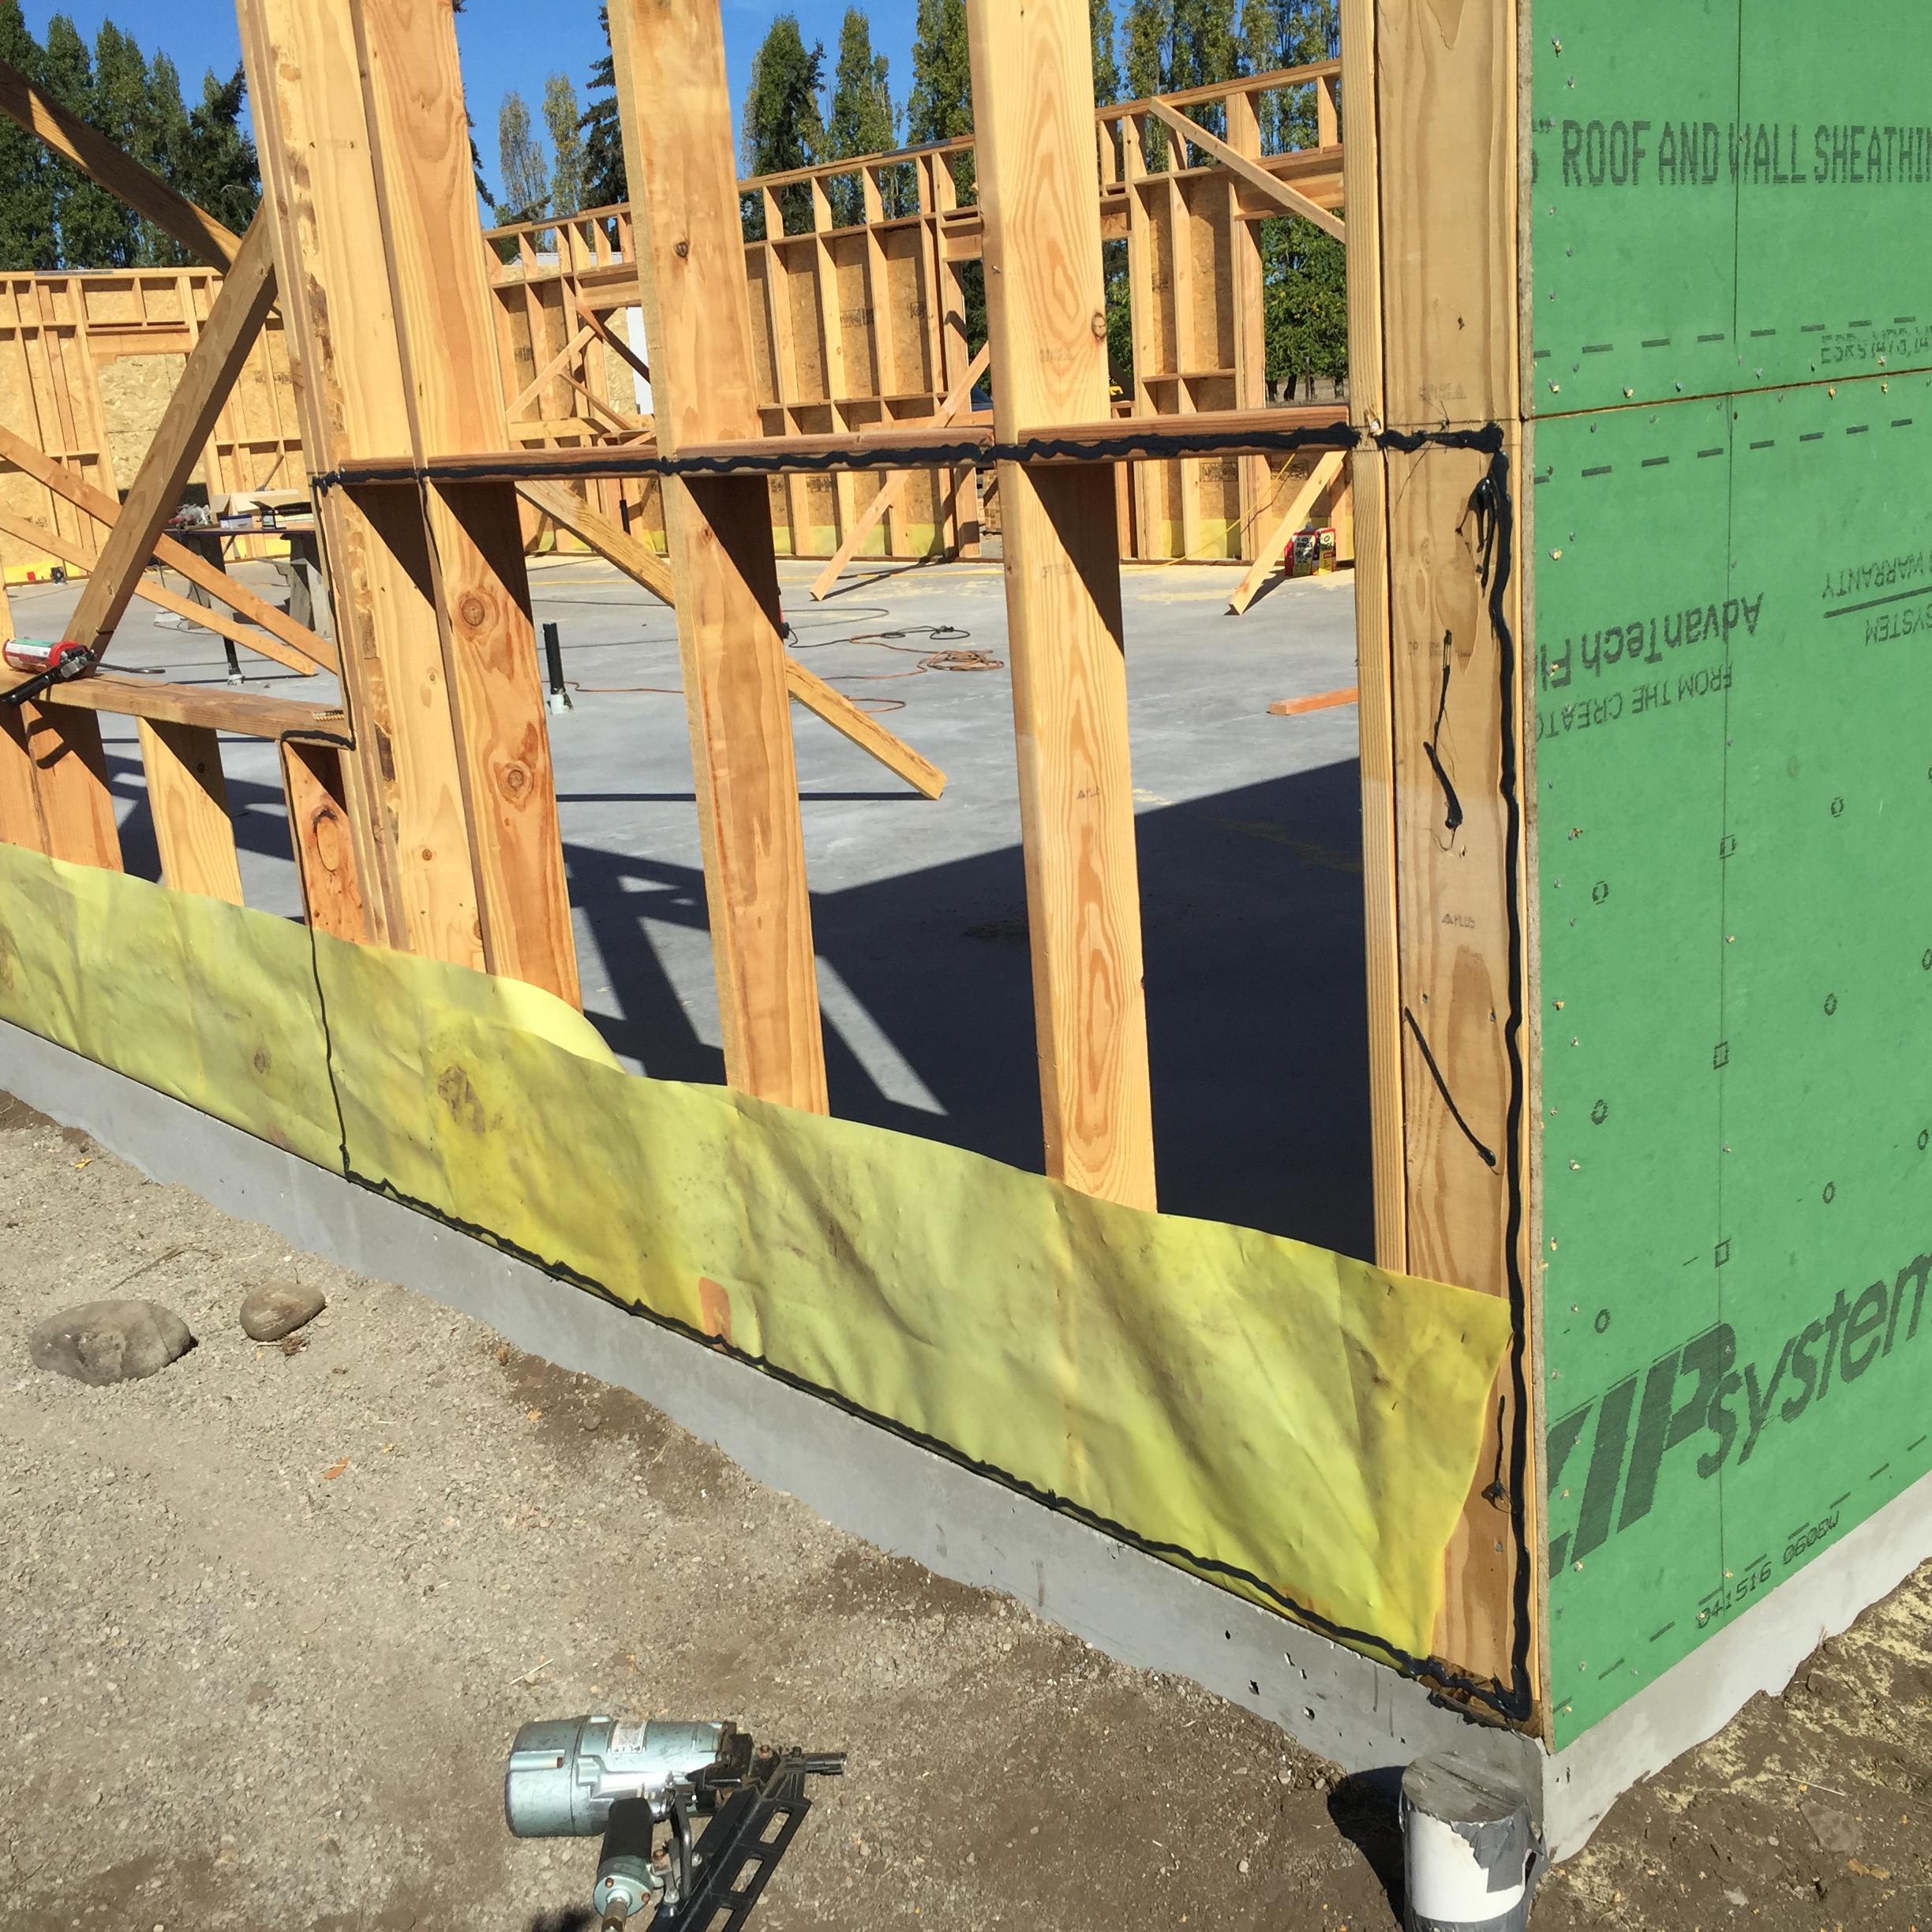 In standard construction, the outer wall frame is first sheathed with sheets of plywood or oriented strand board (OSB), then the entire house is wrapped in another plastic sheet for moisture protection.
We combined those steps by using ZipSystem® sheathing that includes a bonded air and water barrier. Once the joints between sheets are taped with the manufacturer’s proprietary tape, the wall is essentially air-tight. The back of the sheathing is sealed to the plastic from under the slab to form a continuous air barrier joint.
ceiling
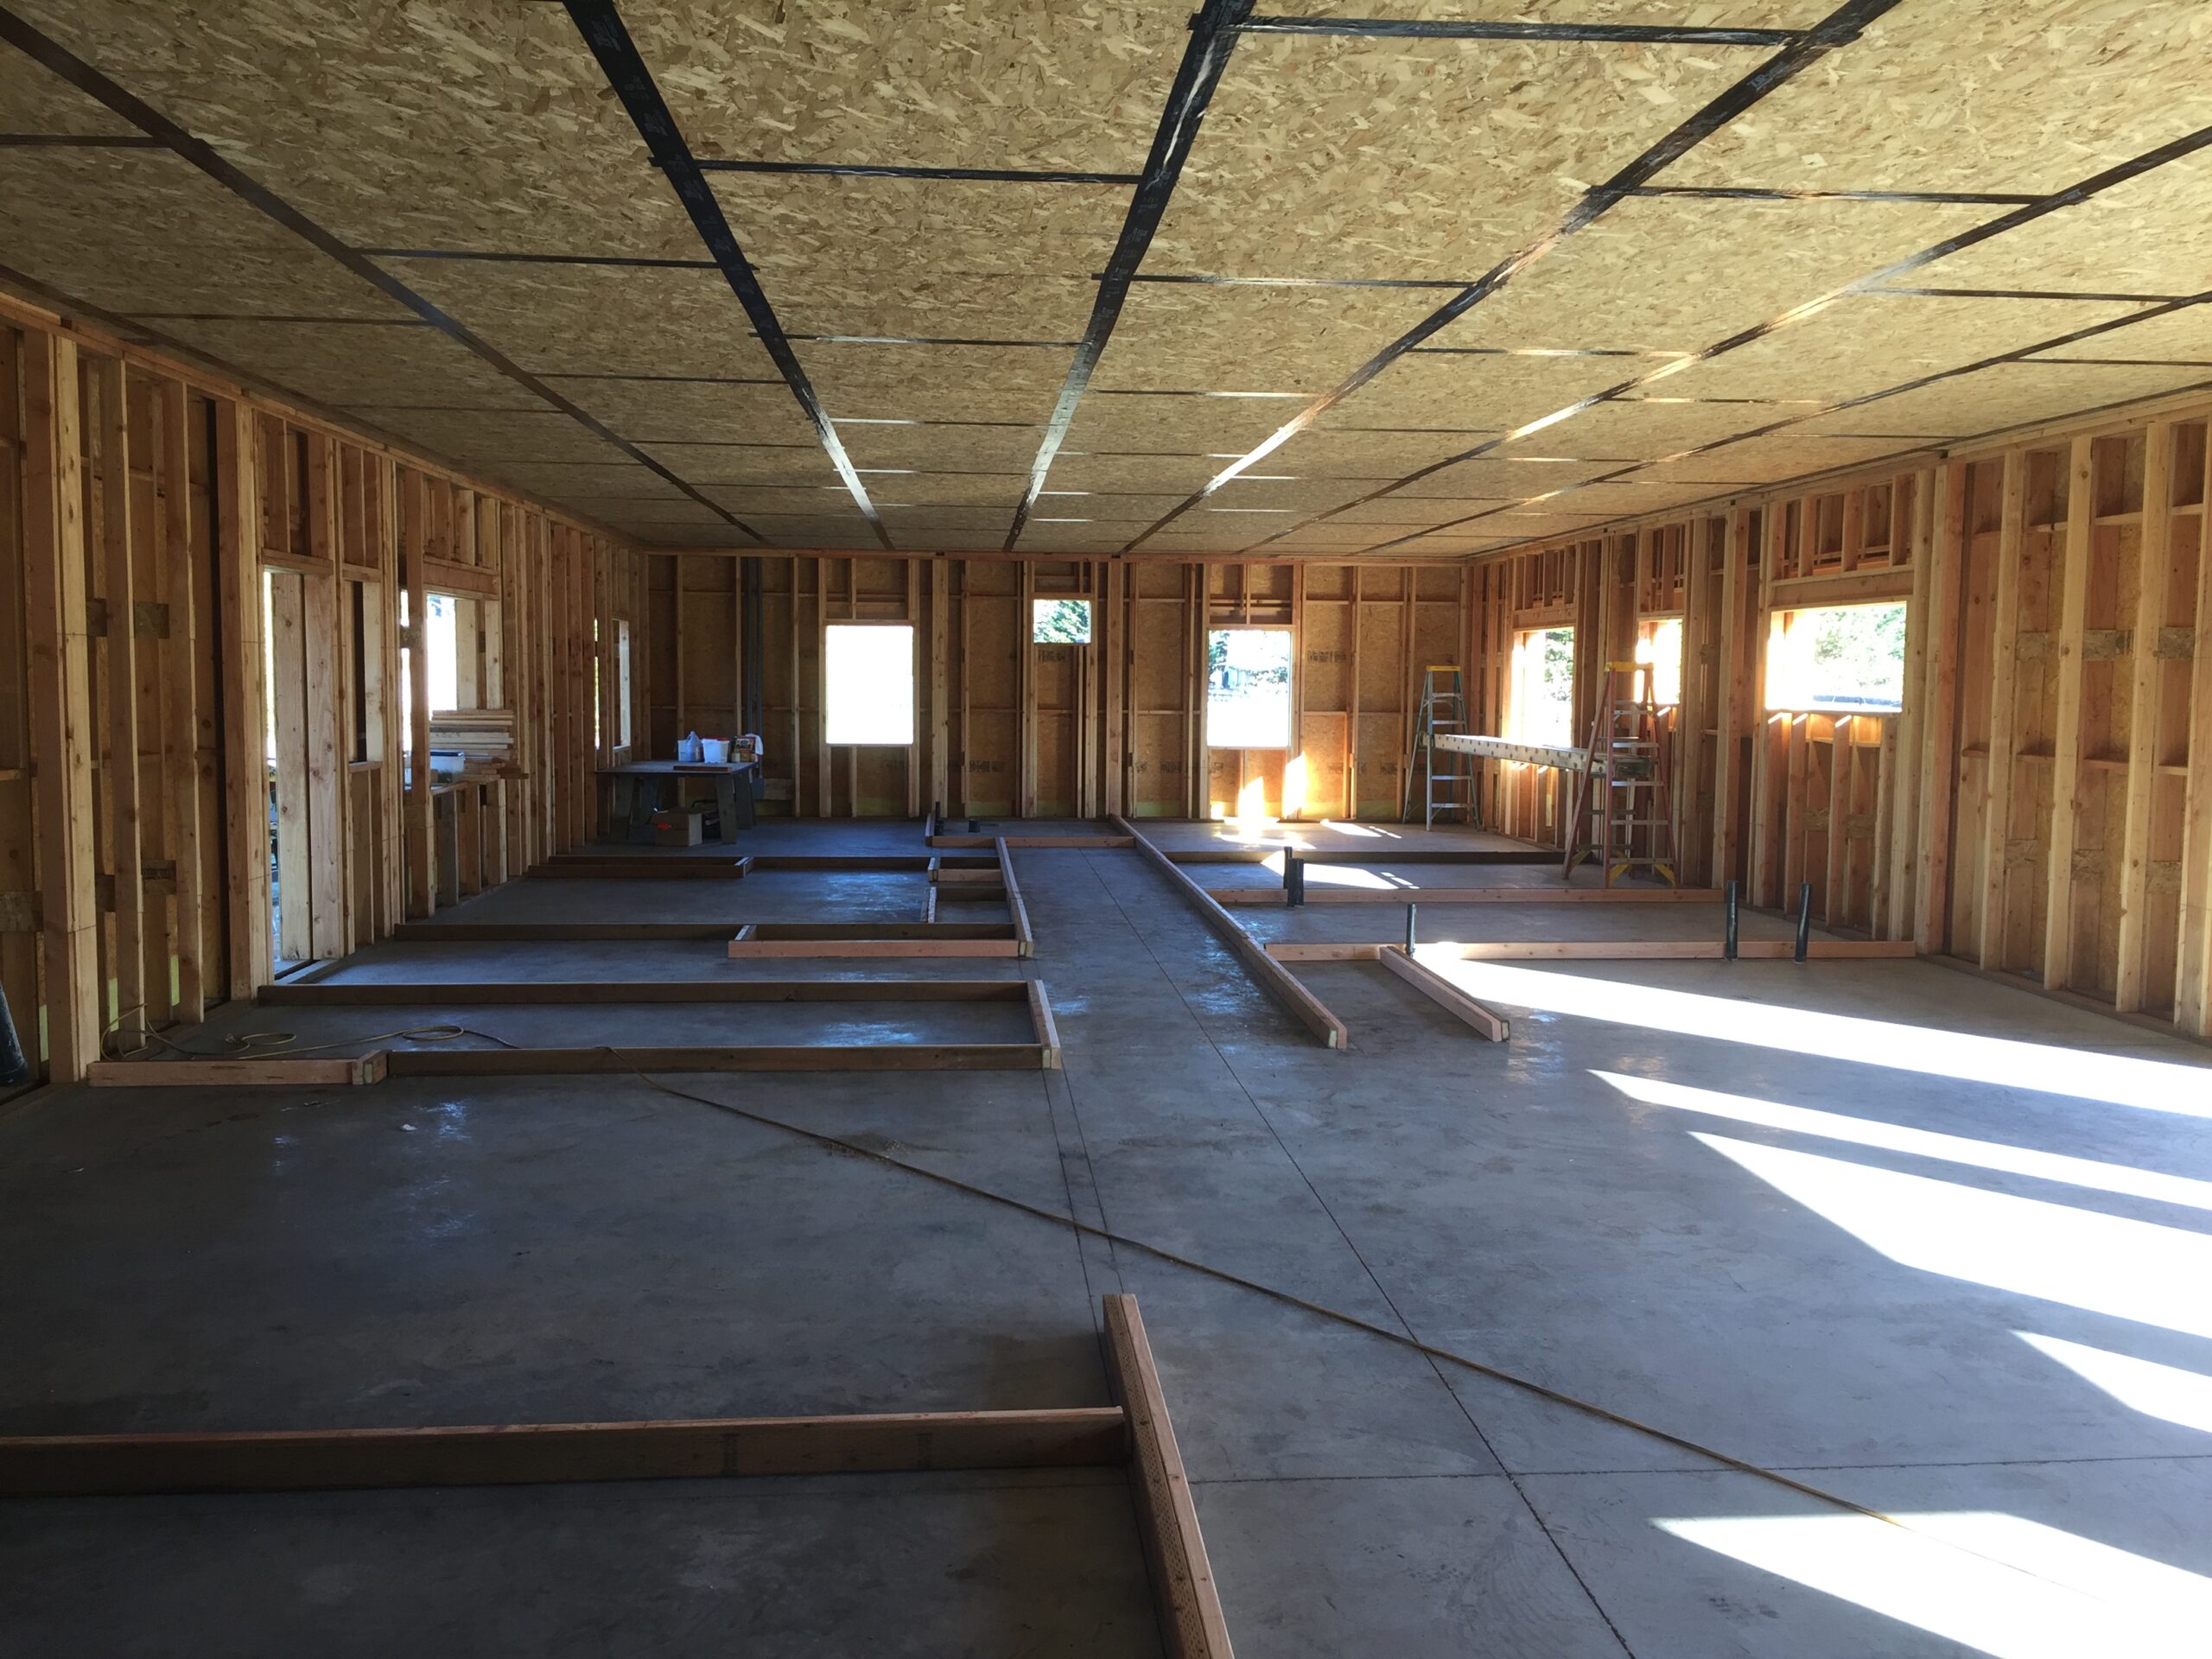 We then installed sheets of standard ½” OSB across the bottoms of all the trusses, extending them to the outside of the supporting walls, where they are sealed to the wall sheathing. Once all of the joints between these OSB sheets are taped, the ceiling also becomes an air barrier.
penetrations
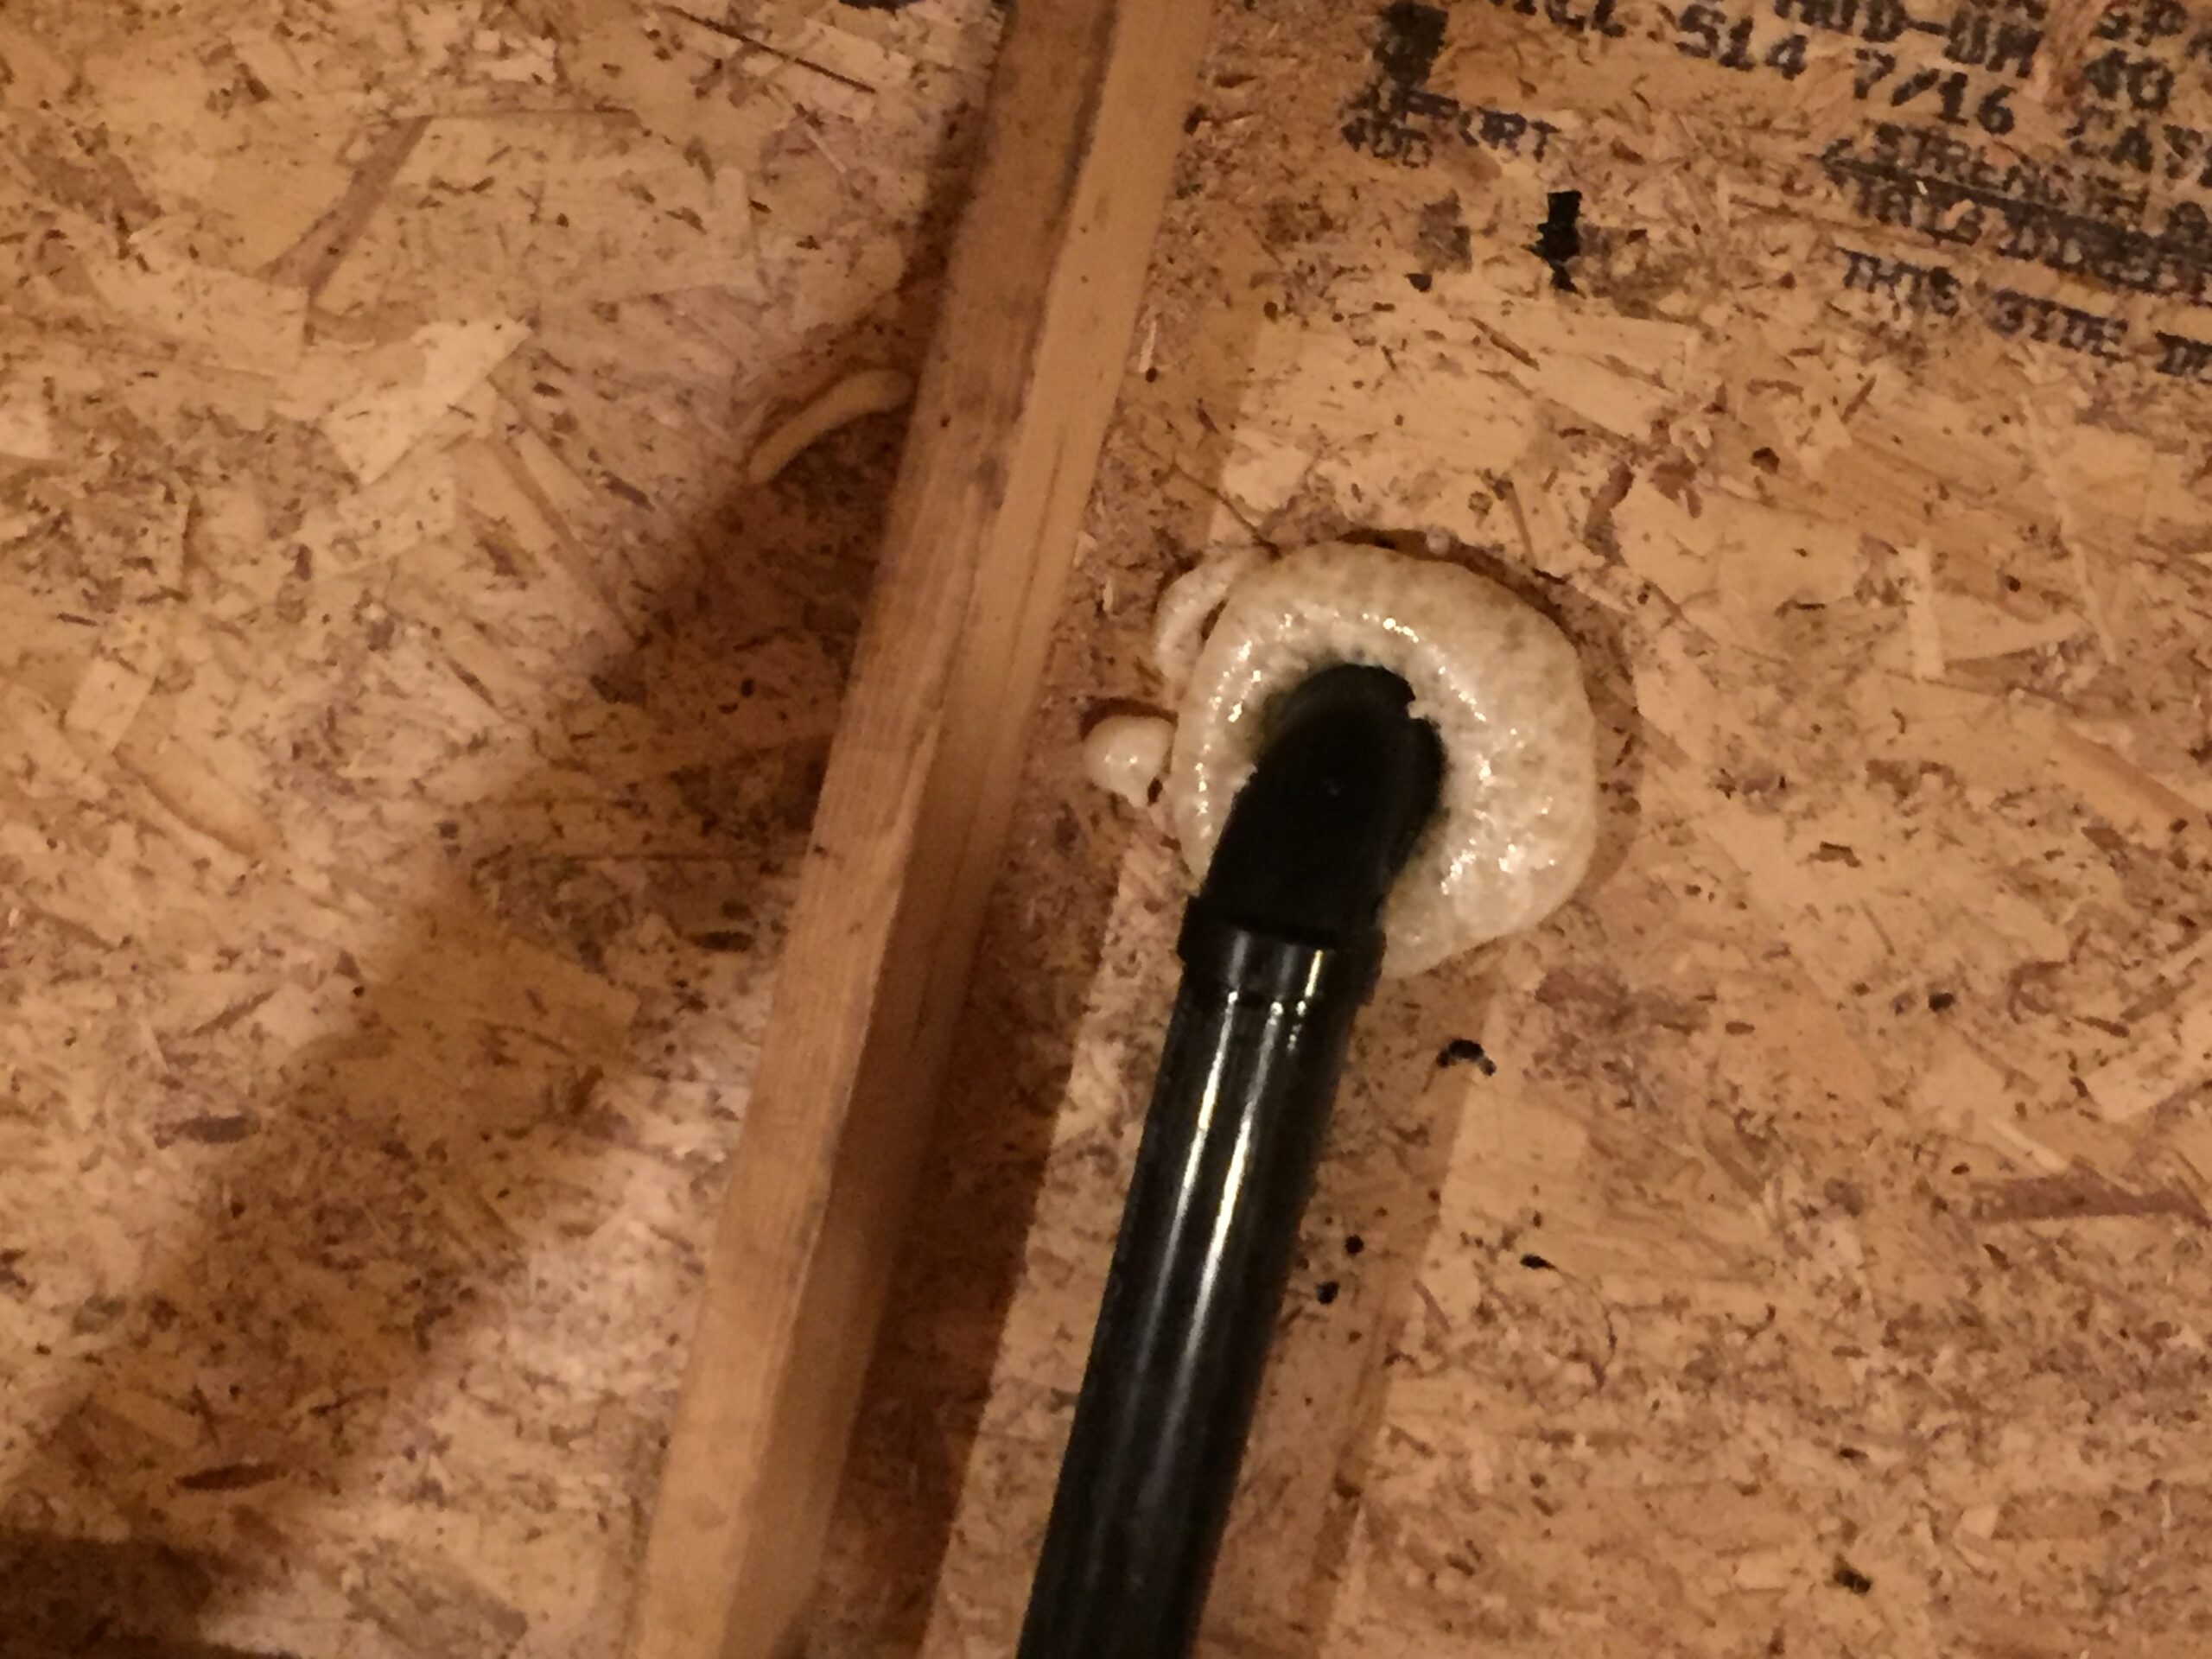
Window and door frames were carefully air sealed at installation, as were all ceiling and external wall penetrations (vents, faucets, outside electrical outlets, etc.) using spray foam sealant.
emergency heater
 Our backup heating system in case of an extended power blackout is a small “self-venting” propane stove. In a self-venting stove, air for combustion is drawn from outside and hot exhaust air is vented back outside (the two air flows share a single coaxial pipes) while the firebox is sealed from the room.
openings
Doors and Openable Windows are often among the largest contributors to air leakage. To minimize that, we chose to use only hinged (awning and casement) mid-grade Milgard® vinyl windows in the Demonstration House because they include a multi-point locking system that essentially draws the movable portion tightly into the gasketing when closed. It is difficult to provide that level of air sealing in any sliding window configuration so we avoided horizontal sliders, and single- or double-hung vertical sliders.
Similarly, we chose standard Codel® fiberglass doors because they incorporated gasketing all the way around while the optional Hoppe Multipoint Locking System draws the closed door tightly into it. This was not in inexpensive choice, though, and other manufacturers’ doors may be less expensive.
attic access
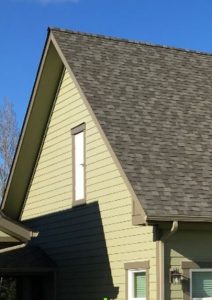
We solved the problem of trying to construct an airtight, insulated hatch for attic access from within the house by, instead, adding a ladder-accessed door to the gable roof end above both the attic air barrier and the attic insulation. This large door also provides better access than would a typical indoor hatch.
Next
Once we had defined insulation levels and air flow processes, the next step was to select the active equipment for the house, including heating/cooling, hot water, lighting, and all other power-consuming devices. Select Equipment to move on to that part of the virtual tour.
